Designing the perfect bathroom layout is a critical step in any remodeling project. The placement of fixtures, storage solutions, and overall flow of the space play a significant role in how functional and visually appealing your bathroom will be. Whether you’re working with a compact powder room or a spacious master bathroom, maximizing the space without sacrificing style is essential.
Maximizing bathroom space is a common upgrade many homeowners dream of. At Grand Finish Remodeling, we’ve been transforming bathrooms in MetroWest, MA, since 2014, helping homeowners create layouts that suit their unique needs. In this guide, we’ll walk you through the essential steps for effective bathroom layout planning, offering tips on choosing the proper layout to optimize fixture placement.
Why Bathroom Layout Planning Matters
The bathroom layout is more than aesthetics—it’s the foundation of the room’s usability and efficiency. A poorly planned bathroom can result in wasted space, awkward traffic flow, and insufficient storage, making daily routines inconvenient. Conversely, a well-thought-out layout ensures that every inch of space is utilized effectively, creating a harmonious blend of functionality and design.
Bathrooms are some of the busiest spaces in any home, and they must accommodate activities like showering, grooming, and dressing. This is why strategic planning is so important. By carefully considering factors like plumbing locations, room dimensions, and user habits, you can create a bathroom that not only looks fantastic but also supports your lifestyle. At Grand Finish Remodeling, we understand the challenges homeowners face when designing bathroom layouts, and our expertise helps bring your vision to life with efficiency and style.
Step 1: Assess Your Bathroom’s Dimensions and Needs
Next, consider how you plan to use the space. For example, if the bathroom is shared by multiple family members, incorporating double sinks or separate storage areas can help reduce clutter and improve functionality. For smaller bathrooms, prioritizing compact fixtures and vertical storage can maximize the available space without making the room feel cramped. By identifying your needs and analyzing the space, you’ll set a solid foundation for finding the most efficient bathroom designs that work for you.
Step 2: Choose the Right Layout
Once you’ve assessed your bathroom’s dimensions and needs, the next step is selecting a layout that maximizes space. There are several standard bathroom layout designs, each with unique benefits depending on the size and shape of your space.
1. Three-Wall Layout
A three-wall layout places the sink, toilet, and shower or tub on separate walls, creating a balanced and symmetrical design. This layout is ideal for larger bathrooms, allowing for distinct zones and creative design opportunities.
Pros: It offers flexibility in fixture placement and creates a luxurious, spa-like feel. The separation of elements also makes the space feel more organized and functional.
The cons: This layout often requires additional plumbing, which can increase costs and make it less suitable for budget-conscious projects.
2. One-Wall Layout
A one-wall layout can save space while maintaining functionality in smaller bathrooms. This design aligns all fixtures along a single wall, minimizing plumbing requirements and simplifying the space. This is a prime example of functional bathroom layouts.
Pros: This layout is cost-effective and efficient, perfect for compact bathrooms or powder rooms. It’s easy to clean and maintain, as everything is centrally located.
Cons: It limits design options, particularly in larger bathrooms where more separation may be desired.
3. Split Layout
A split layout divides the bathroom into separate areas, often placing the toilet in its enclosure for added privacy. This layout is especially useful in shared bathrooms where multiple users may need simultaneous access.
Pros: The division creates a more organized and private space, ideal for families or households with shared bathrooms.
Cons: Partitions and enclosures can take up valuable space, making this layout better suited for medium—to large bathrooms.
Choosing the right layout ensures that your bathroom meets your functional needs and reflects your personal style.
Step 3: Optimize Fixture Placement
The placement of fixtures like sinks, toilets, and showers significantly impacts the usability of your bathroom. By arranging these elements strategically, you can create a layout that maximizes space while maintaining a cohesive design. Bathroom fixture placement tips that you can keep in mind include:
Toilets
Position the toilet in a discreet location, such as behind a partial wall or near the back of the bathroom. Avoid making it the focal point when entering the room, as this can detract from the overall aesthetic. Ensure adequate clearance around the toilet—at least 30 inches in front and 15 inches on each side—for comfort and accessibility.
Showers and Bathtubs
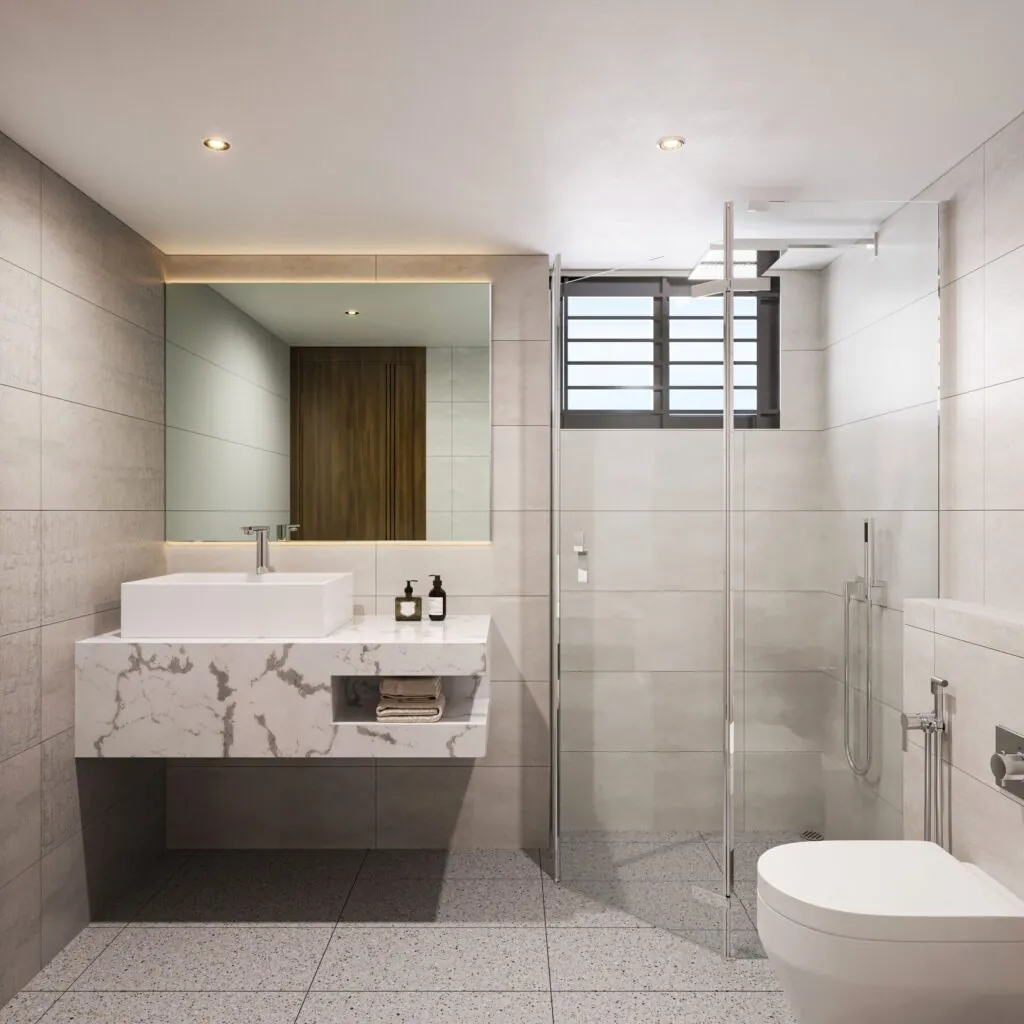
Walk-in showers with frameless glass enclosures are an excellent choice for small bathrooms, as they create the illusion of more space. In larger bathrooms, consider a freestanding tub as a luxurious focal point. When designing the shower or bathtub area, prioritize waterproofing and properly install drainage systems to prevent future issues.
Sinks and Vanities
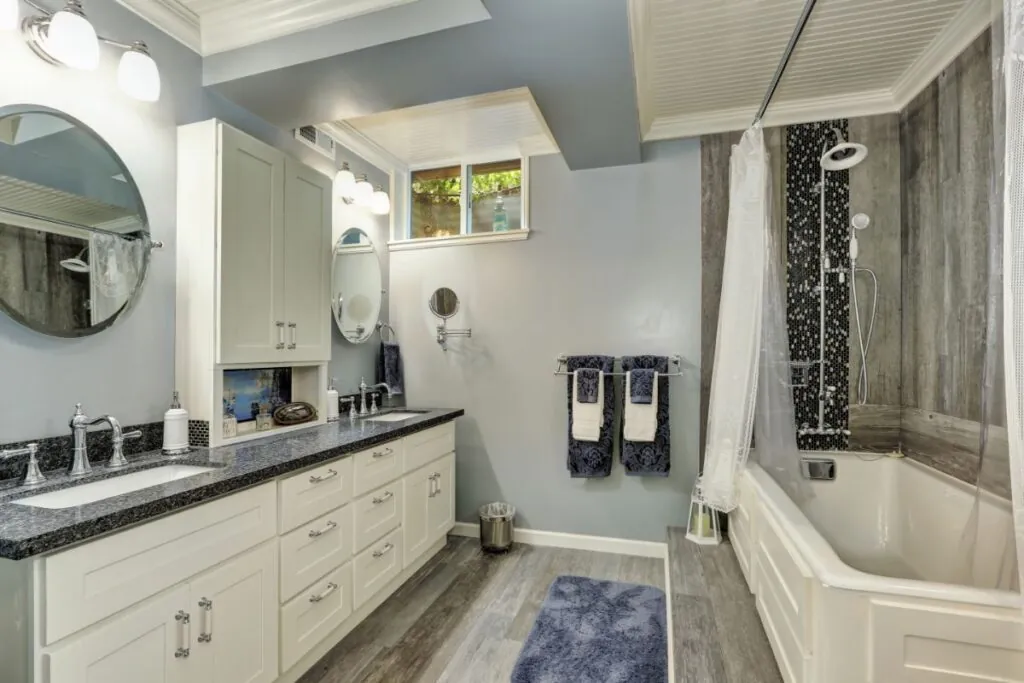
Wall-mounted sinks and floating vanities save floor space while maintaining functionality. Double vanities provide ample space for multiple users in shared bathrooms. Consider adding storage beneath the vanity or incorporating recessed shelves to keep essentials organized and out of sight.
Step 4: Maximize Traffic Flow
A well-designed bathroom layout should allow for easy movement and clear pathways. Crowded or obstructed spaces can make even the most beautiful bathroom feel impractical.
To optimize traffic flow, leave sufficient clearance around all fixtures. For example, ensure that doors and drawers can open fully without blocking pathways or bumping into other elements. Position frequently used fixtures near the entrance for convenience, such as sinks, while less commonly used features, like bathtubs, can be placed further from the main access point.
Step 5: Incorporate Smart Storage Solutions
Storage is essential for keeping a bathroom organized and functional. In smaller bathrooms, vertical storage options like tall cabinets, wall-mounted shelves, and recessed niches are invaluable for saving floor space. Over-the-toilet shelving is another effective solution that makes use of often-overlooked areas.
For larger bathrooms, consider custom cabinetry that combines style with practicality. Built-in storage solutions enhance the room’s aesthetic and make it easier to keep the space tidy. By prioritizing smart storage, you can reduce clutter and create a more inviting atmosphere. It is also easier to incorporate efficient bathroom designs as well.
Call to Action
Transform your bathroom into a functional and stylish space with expert bathroom layout planning from Grand Finish Remodeling. Serving MetroWest, MA, since 2014, our team specializes in creating layouts that maximize space and enhance usability. Explore our professional remodeling services today and start designing the bathroom you’ve always wanted. Contact us now to schedule your consultation and see how we can bring your vision to life and how to get the most out of functional bathroom layouts!
FAQs


